I went into Throne of the Tides again today on my main (not on heroic, as he's not at level cap yet) to try it out again and get a better look at what's going on now that I knew what to expect. I thought I'd give a rundown of what you'll find in there (barring any changes between now and release), as it will likely be one of the first dungeons you encounter.
The dungeon itself is quite cool, the art is interesting, and there are a lot of walls and corridors made of what seems to be walls of water. Discovering the entrance to the dungeon is quite fun as well, as to get to it you have to venture down into the Abyssal Maw in Vash'jir. I didn't think I would come out alive!
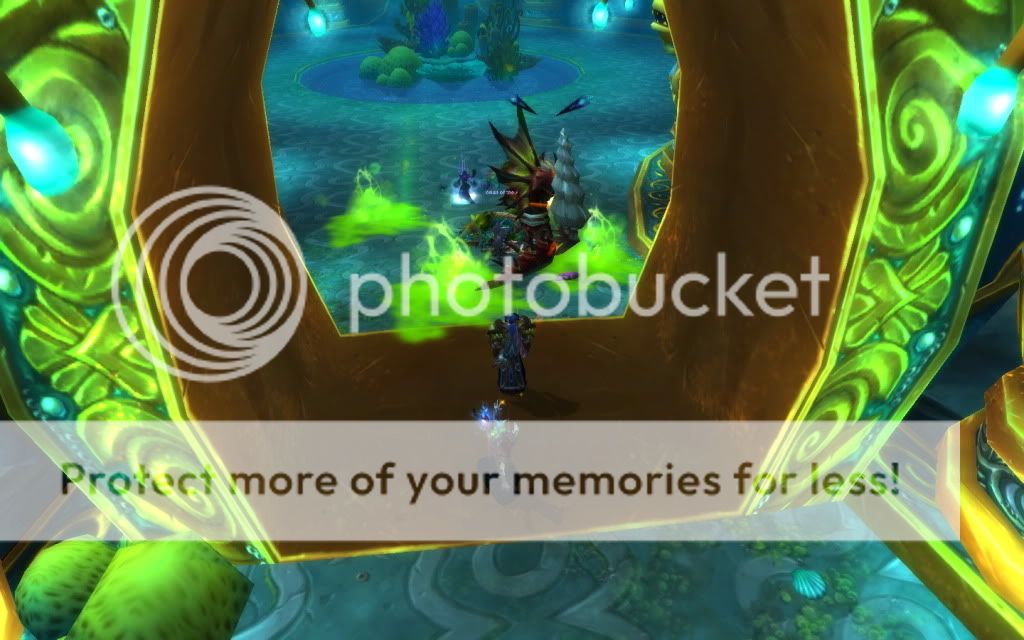
The above screenshot is looking up through the lift (which has finally been implemented - no more goblins with 'Under Construction' signs!). The lift itself seems to be a giant jellyfish-type creature, though unlike jellyfish, it is not soft and squishy (and fortunately doesn't sting you), so if you jump off down to it you will get hurt and/or die (as a tank in one run found out).
Overall, the damage doesn't seem too bad (on regular), especially if your group is aware enough to not stand in deadly things. You will want to use CC on some of the trash packs and even on some of the boss fights (in my opinion, anyway) and you do need to be aware of your surroundings both on trash and on bosses. While you might be able to get away with not using CC and standing those extra few seconds in poison when in the regular dungeon, I highly doubt you will last long in the heroic versions.
Many of the trash packs will involve mobs like those in the screenshot above. There are lots of little murlocs who tend to come sprinting out in those little packs (just what would you call a pack of murlocs?). They don't do a massive amount of damage, but they are a nuisance, and seem quick to target onto either dps (like the priest there) or onto the healer (like myself). Barkskin and Nature's Grasp are your friend.
Those two Naga are another common presence in trash packs. The two above can both heal, and in every trash pull with these naga there are usually two. To handle them most effectively, you should generally mark one as the main target and the other to CC. The mage in this run had fallen behind, so I popped in with some Cyclones to interrupt a few heals. You do have Diminishing Returns to contend with, though.

These big guys are another common presence in trash. They tend to be on their own more, but one or two do pat around, so it's possible you'll end up pulling one while dealing with a larger group. They hit quite a bit harder than the other trash mobs and they also throw that green poison on the ground. DO NOT STAND IN GREEN POISON. It will hurt you. A lot. Also, once again this does raise the one complication with our Efflorescence proc - the big green healing zone does disguise the green poison a little bit. You can tell the difference if you actually look where you're standing, but if the person isn't paying attention, they may end up standing in both. You could also have some fun with this and see how many DPS you can get to stand in poison, but you didn't hear that from me.
 |
| Lady Naz'jar |
Boss: Lady Naz'jar
The first boss you will encounter is Lady Naz'jar. There are several things you'll want to keep in mind for this fight. At ~66% and ~33%, she will shield herself and summon adds. There are three adds, two Tempest Sea Witches and a Naga Honour Guard. On this fight I would advise either CC, interrupts, or silences for the Witches. You will want to take out the Honour Guard add first. The Sea Witches will be standing at range casting chain lightning. The chain lightning actually does a fair amount of damage, and they're fairly quick to cast it. I would recommend either CCing one or both of the Witches or at least getting an interrupt or silence on them. Once you actually switch to kill them, any class that can interrupt that cast should try to do so. Your healer will thank you.
There are also two abilities she has which the group needs to look out for. One is Fungal Spores, she will toss a spore at a target which will place a disease on them. These can be dodged if you see them coming towards you and the disease should be removable. The other ability actually does a decent amount of damage. She creates a Vortex, which is marked by light blue circle that appears on the floor, followed shortly by a vortex of water which will damage anyone caught in it and toss them in the air. These can be deadly. Screenshot below:
As you can see, my Vuhdo works on Beta, which has made me incredibly happy while healing. Though as of today it seems it needs to be updated, as it wasn't recognizing Lifebloom as a spell (likely due to some glitches with LB from Tree of Life changes).
After Lady Naz'jar, you will quickly get to the second boss.
 |
| Commander Ulthok |
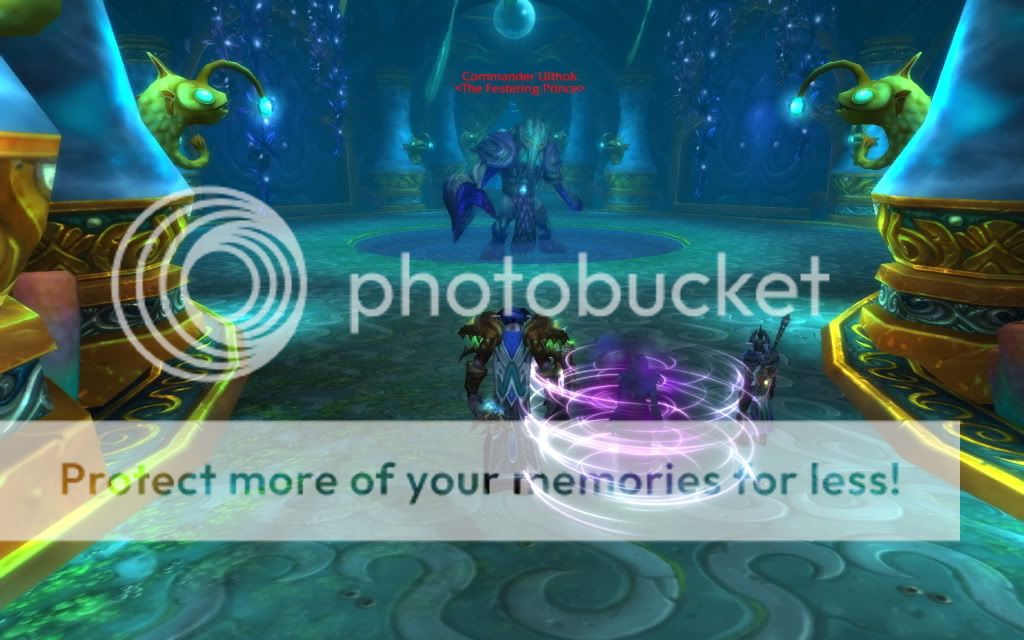
Boss: Commander Ulthok
Ulthok is a fairly straightforward fight. He has two main abilities to be concerned about.
He will create Shaddow Fissures which do a significant amount of damage. The tank and melee dps need to be very aware of this ability. He slams the ground in front of him (which will result in a big hit on the tank of he gets caught in it, and likely one shot any DPS) which also leaves a dark circle on the ground which deals additional damage. Kiting him should help your tank and melee avoid these.
The second ability is Squeeze; he will grab a random group member and essentially holds and squeezes them. Whomever he picks up will be stunned and will take damage. Fortunately I had a HoT on myself when I was randomly grabbed today, hadn't been expecting it! Be sure to keep yourself and others topped off if you're healing.
Ulthok also has an enrage ability which will increase his damage done for 8 seconds.
Hm, I apparently neglected to pick up a screenshot of the next set of trash on the way to the third boss. There are two types of trash in the corridor approaching the third boss. One are lots of little Gilgoblin Hunters. In general they don't seem to hit too hard, but they do have an ability that can hit decently hard, and seems to have an AOE effect as well (hitting more than just the tank). I thought I've seen two abilities from them, one (the AOE one) looks a bit like a boomkin's Typhoon. The other I had thought I had read on recount as some sort of Spear attack. Regardless, be prepared for a potentially large hit!
The other type of trash in this corridor are Faceless Watchers. They do decent hits on the tank, but more importantly is they have an ability that whips the entire party into the air and draws them to the Watcher. You will get fall damage, and I advise the entire party (or in the very least all the DPS) run out immediately, as they also do an AOE damage immediately following the pull-in. As a Resto druid, the point when the entire party is grouped up just before you land at the Faceless Watcher is a great time to cast Wild Growth, as it should hit everyone in your party and will start healing that initial fall damage and the AOE damage. There are four in this corridor. One pats, and if you wait a moment you can easily pull him back towards the steps to avoid pulling the second. The final two are by the entrance to the next boss and seem like they will have to be dealt with together.
 |
| Erunok Stonespeaker |
Boss: Erunok Stonespeaker
The third boss you will face is Erunok Stonespeaker. You're not really fighting him, though, you're actually killing the Mindless One that's attached to his head and mind controlling him (reminds me of the
Brain Slugs in Futurama).
There are several abilities Erunok does while hostile. He casts some coral spikes which will fire up under the feet of a party member. Naturally, move out of the spikes. He also casts Lava Bolt and Magma Splash. Magma Splash is a conal ability, so stay behind him.
At about 50%, the Mindless One will remove itself from Erunok. It now has three abilities it can do.
Mind Control: The Mindless One will attach itself to a party member, usually the one with the highest threat, mind controlling them. For the first time, it is ok to DPS the MC'd person! In fact, it's what you're supposed to do! You DPS the MC'd person to 50%, at which point they will be released. They regain full health after they are released. The MC'd player should be tanked, as otherwise they will start firing off their abilities at the party members.
The damage to the Mindless One between mind controls will be what kills him off, so you'll want to free your party members from the MC as quickly as possible. Between mind controls, he will fire off either (or both) of two AOE abilities.
Poison: Green poison on the ground. Don't stand in it.
Mind Flay: Purple beams shoot out from the boss and channel onto all party members, dealing damage.
See the screenshot below.
It's now time to make your way to the final boss!
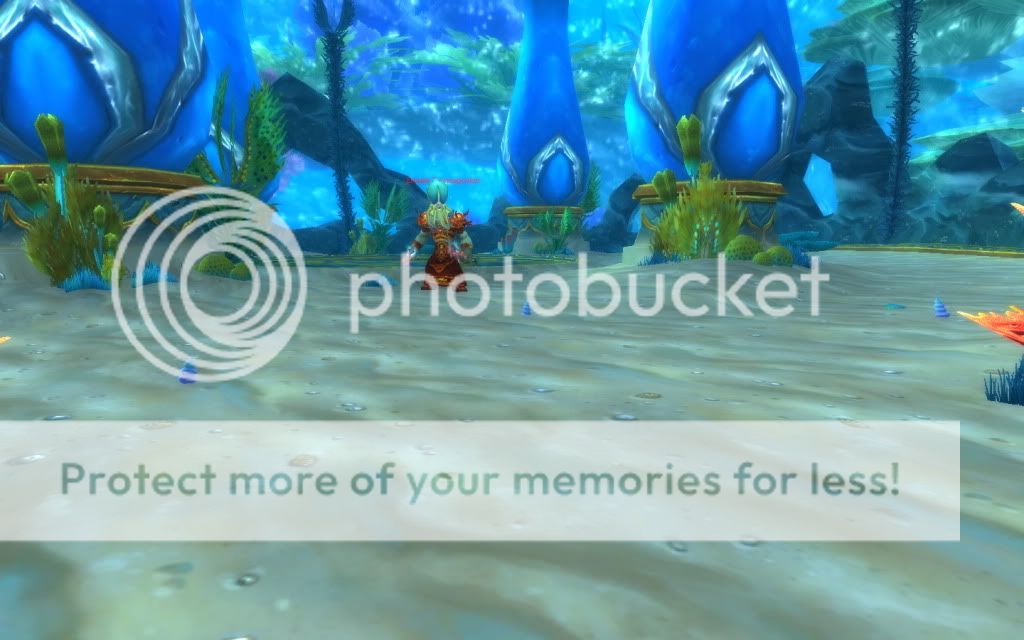
The corridor on the approach to the final boss is filled with water elementals. The large ones should be tanked and killed quickly. The smaller ones are a bit more of a nuisance and the tank should keep a hold of them, as too many will be deadly on a DPS or healer. I'm unsure if this is supposed to be a guantlet (it's certainly a short one if it is), but it seems moving through that corridor as quickly as possible is best, as that seemed to reduce the amount of small elementals spawning. At the end of the corridor by the gate/entrance to the final boss are two more large water elementals. Apart from the small adds being a nuisance, none of this trash seems to have any abilities of any real consequence.
 |
| Neptulon |
Boss: Neptulon
Neptulon is the final boss in TotT. Or, rather, Ozumat is; you are actually trying to help Neptulon.
There are two phases to this fight. The first phase, which is essentially dealing with waves of adds, and the second phase, where you have to kill the boss (Ozumat).
This fight can be a bit confusing the first time, as there are a lot of adds and you need to know which to prioritise. I suggest trying to remain grouped fairly close together to help the tank pick up adds and to not get out of range of heals.
The adds of most importance in this fight are the Sappers. Think of the suppressors on Dreamwalker - they're quite like that in concept. You can see the Sappers in the screenshot below - they will be channelling onto Neptulon. It seems like the faster they die, the faster you push the phase, so these adds are top priority.

You can see in that screenshot as well one of the other types of adds, the mutated creatures (Blight Beasts). The tank should kite these. The tank should also kite the ones that look like Faceless Ones, Unyielding Behemoths, as they hit hard and do a frontal AOE cone of black tar. Don't stand in the cone, and don't stand in black stuff on the ground. There are also more packs of murlocs which, again, are mostly just a nuisance. The tank should try to get as many of these as he can to keep them from latching onto the healer (I had a warrior tank vigi me to help with this - keeping close to your tank may also be useful to catch them in AOEs). Barkskin and Nature's Grasp are once again your friend. Nature's Grasp will work on all these adds.
If Sappers are not up, priority is Vicious Mindlashers, the Unyielding Behemoths, Blight Beasts, and the murlocs. The sappers should spawn partway through the first phase.
Once all the Sappers are dead, Neptulon will begin yelling that the waters are cleansed and will fill the room with water.
This begins
Phase 2:
The worst thing in this phase is orientating yourself at the beginning; it can be very confusing the first time. As the room has now filled with water, you begin to swim, and as you rise up and see the actual boss (Ozumat, the giant creature spewing tar into the water in the screenshot above) the room does seem to get smaller, which will move your camera position in.
ETA: The buff Neptulon places on the party will make you all grow massively in size, which is also what makes the room appear smaller (Thank you to Trizophenie for the clarification!).
The fight from this point on basically is a DPS race. The black bile that's spewing in causes a stacking debuff which deals shadow damage over time (which appears to cap at 200 stacks, dealing 40,000 damage per second).
As a healer, you can likely ignore the boss and focus on healing (and you want to make sure you don't fall behind). Tranquility is great in this phase, especially if you found you have fallen a bit behind while adjusting to the phase change. You may want to target Neptulon to throw some heals his way if you need to.
For DPS and the tank, you'll want to target the boss and burn him as quickly as possible. Finding and targeting him will likely be your biggest issue, especially the first time; you will likely have to angle your camera slightly up to spot him (he's essentially on the wall of a dome, it seems like) then make sure you're facing him and in range to attack.
Currently this fight appears to be bugged, as you can target Ozumat, but you cannot attack him with anything other than melee autoattack swings. As you can see in the screenshot above, any other attacks give an error message of 'target is not in line of sight'.
And that is it! It's a pretty fun dungeon and a nice introduction to Cataclysm dungeons. I expect the heroic version will be very challenging!